Speedrun video editing rough cuts faster than The Flash.
It's time to go FAST. I'm about to show you how to get from raw video to rough cut faster than you can say "kaka."
The video editing app I'm using is DaVinci Resolve. Not just because that name sounds kinda epic, but also because it's free, and it rocks.
Step 1 - Import the raw files
I'm in my library of unedited footage. I've got my video file and audio recording. I drag my files into my project with all the grace of a drunken hippo. Boom! Now there might be a popup asking about frame rates – just hit yes. We're not here for technicalities.
Step 2 - Syncing the Mess Together
First thing's first – audio! You want your terrible jokes to land in sync with your awkward pauses, right? I select both my video and audio clips, then right-click for all the fun options. I hit 'auto sync' based on the waveform, and my messy sound gets wrangled into place. Bye-bye, awkward silences!

Step 3 – Making My Life Easier (AKA, Less Clicking)
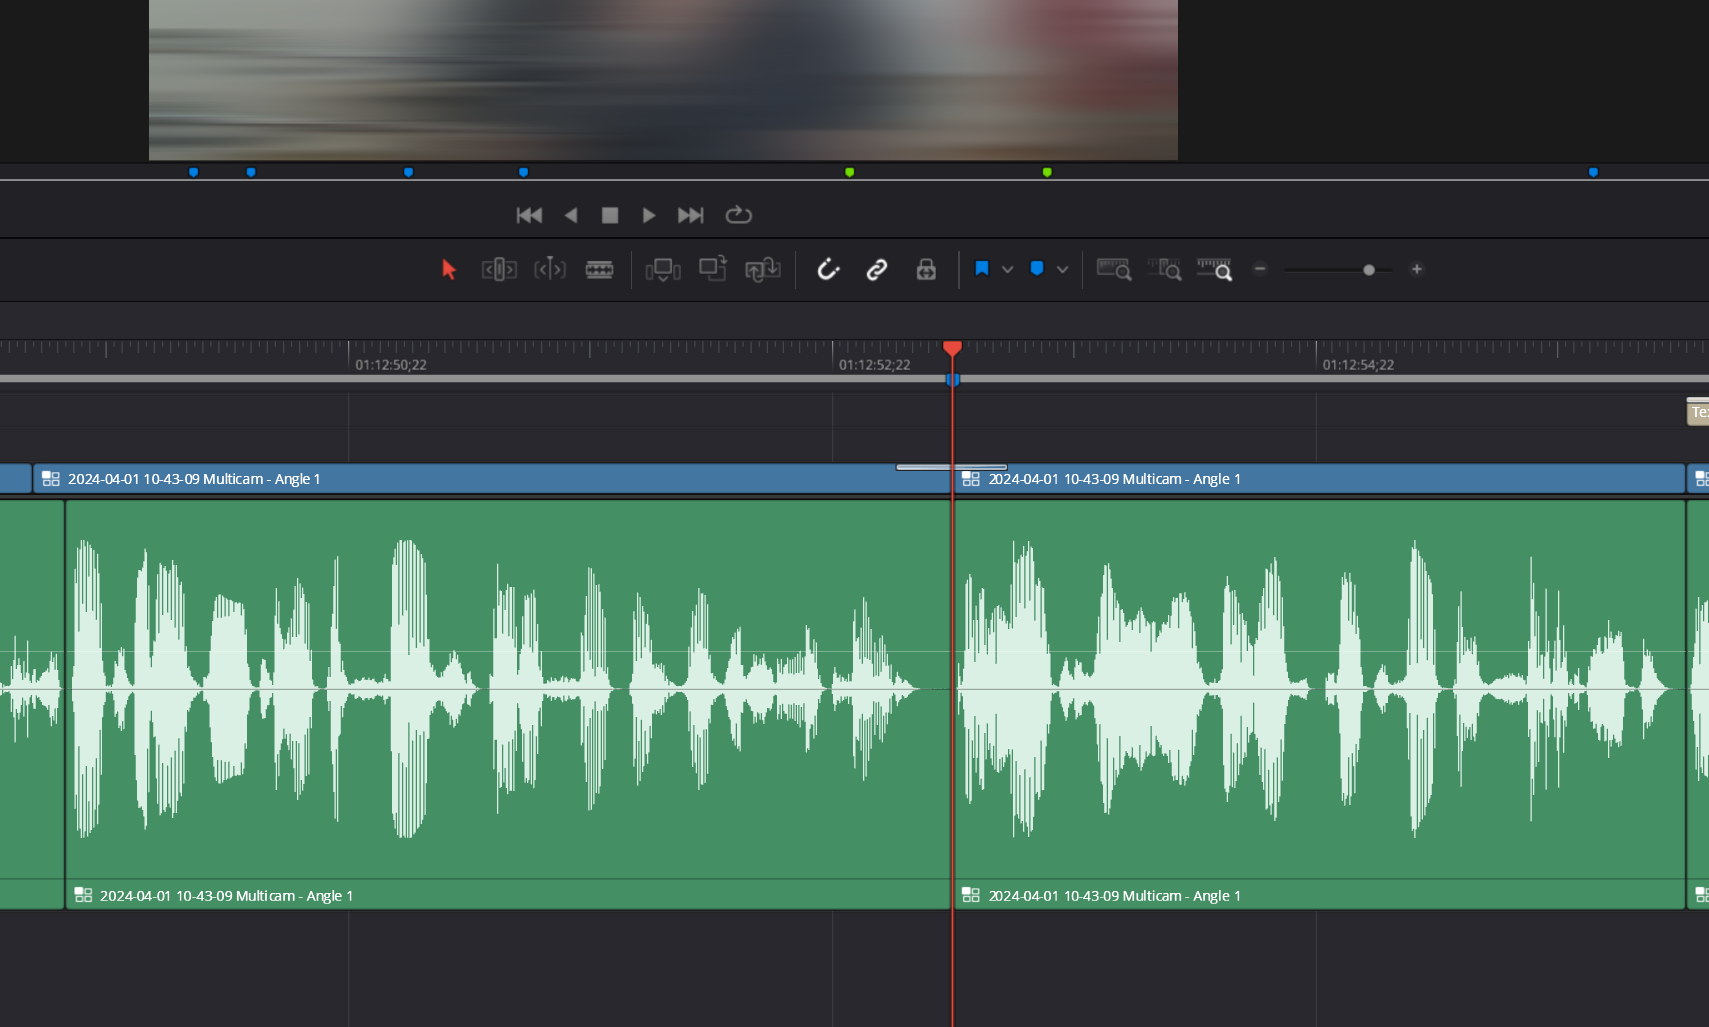
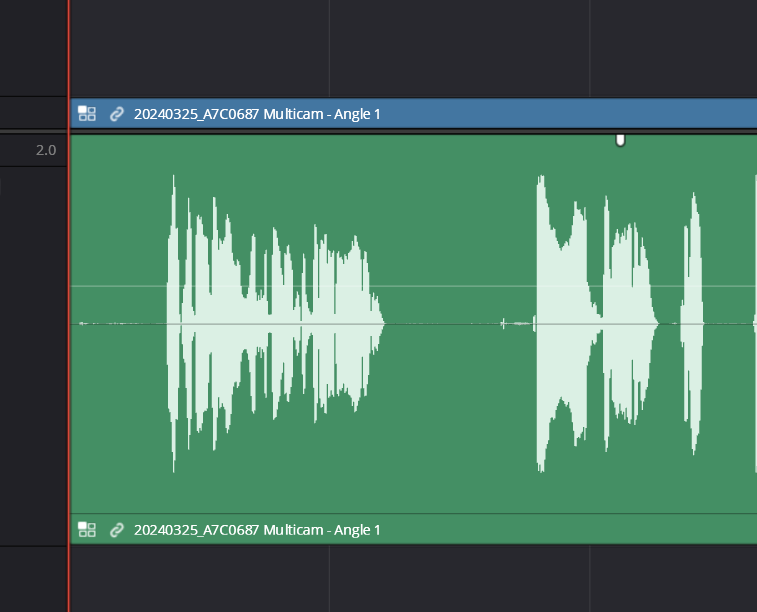
Time to set up my epic editing station. I dump my unedited clip onto the project's timeline (because we're pros here). Next up is to crank up the size of my audio track. Trust me, this saves a ton of time later when editing. See, bigger waveforms are easier to scan, so I can skip to the good parts faster.
Now to make my screen less busy and more streamlined for editing. I go to my workspace settings and check that little box for 'single viewer mode'. It's like minimizing all those chaotic tabs in your web browser, but for your video project.
Step 4 – Color Grading Quickie
You gotta make this messy footage look snazzy. Sometimes those colors need help. I delete the stuff on my timeline, right-click the original clip, and hit 'create new multiclip'. You see, a multiclip lets me make fancy color changes without ruining the raw footage. I'll probably need to tweak that later, anyway...
Now I'm in my color grading tab (where all the magic happens). I boost those shadows, dim the highlights, and throw on some extra saturation. Now, if my footage looks a bit dark, I brighten things up. Ideally, you want to find a 'normal'-looking spot and adjust the colors there.
Here's a little secret: sometimes I sneak a peek at the waveforms on the screen for guidance. They tell me if things are getting too crazy with my adjustments. Remember, trust your eyes, but the waveforms are your geeky backup!
Step 5 – The Rough Cut! (AKA The "Get to the Good Stuff" Phase)
Back in the Editing tab, I click the original clip to edit it on its own. This lets me see my changes from the color grading. Now, my audio waveforms are my best friends. I scan 'em like I'm reading some super confusing map. The big spikes are where I actually, like, spoke and stuff. That means I can cut out the long boring parts instantly. Boom, efficient!
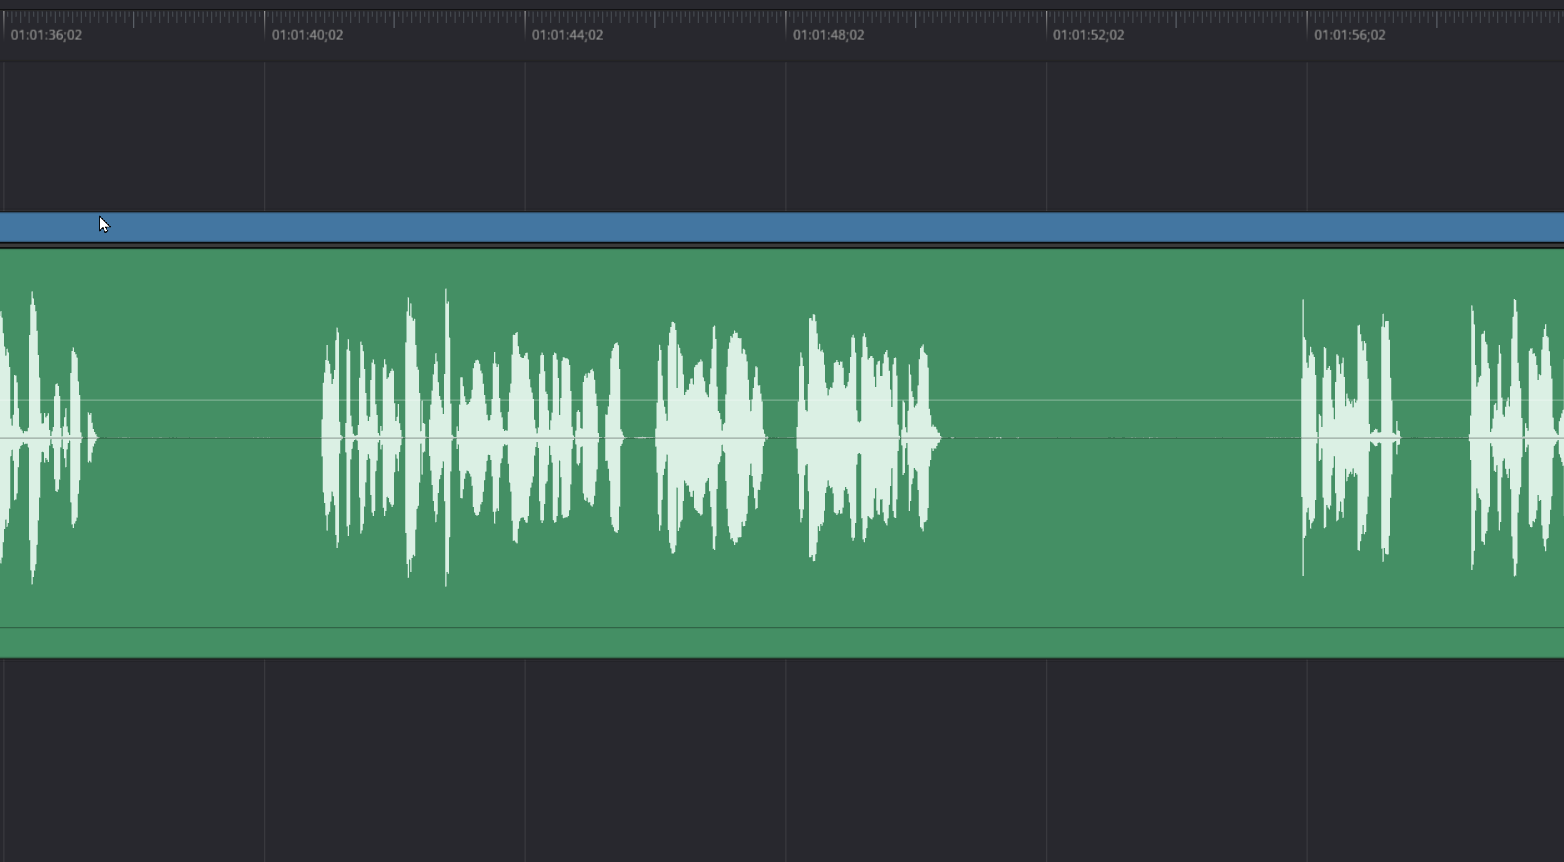
Most editors do this by looking at the waveforms. Now, before I start chopping stuff up you have to make proxy files. Your computer will thank you. Think of them as 'mini-me' versions of your footage – they make everything run super smooth on the timeline. I usually start creating proxies at the very beginning to save time later.

Step 6 – Editing Mode: ENGAGE!
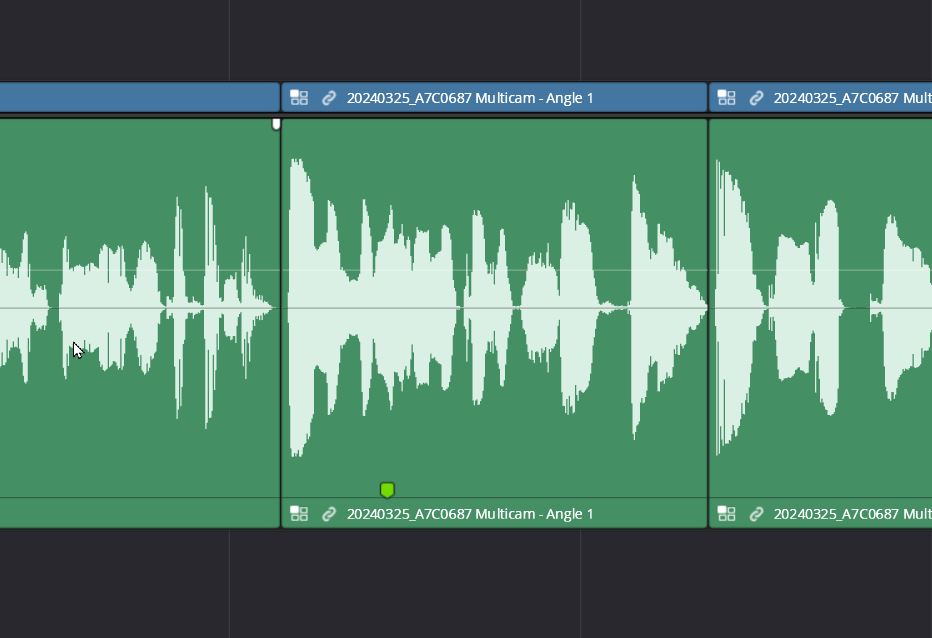
Proxies done, we're good to go! It's like that super-charged moment right before your boss asks why your report is late. I hit play and start scanning the video. Big spike in the waveform means something interesting's about to happen, so I make a cut with my shortcut keys.
I keep hacking away at the video, chopping up awkward pauses, bad jokes, and blurry shots of my cat photobombing the background. Keyboard shortcuts are my weapon of choice – gotta keep those fingers movin'. Anytime I think an intro might start or a cool new topic begins, I slap down a marker on the timeline. Organization is key.
Now, here's the fun part – editing my own rambling. I usually find that the very last take is usually the least terrible, so that one stays. I listen carefully and chop out any awkward filler words, hesitations, and that bit where I tripped on my own feet (again).
The video starts to flow, and before I know it, BAM! My rough cut is complete.
But Wait, There's More!
This is just the beginning. The second run through the edit is where we sprinkle in titles, zoom in for dramatic effect, add sound effects for comedic value... you get the idea. The third run-through is for those final polishes and extra sparkles.
Oh, and B-roll! Those extra shots are like the secret sauce. It's where I find random clips of squirrels frolicking or footage of my cat walking on the keyboard. You gotta fill those visual gaps, you know? To make things even easier, I put markers down wherever I want to add B-roll during my original rough cut.
So there you have it! This is my super-great, not-at-all-chaotic process to turn raw footage into something almost resembling a decent video. How do you edit faster? Let me know all your chaotic time-saving tips in the comments below!


